| |
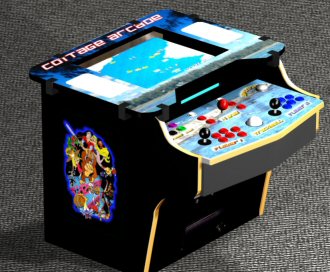
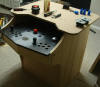
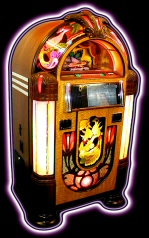
Okay, this is a first for me, a completely custom from scratch
job. Above is a very rough mockup of what I think the
finished beast will look like. This one has to be able to
withstand the rigors of the Great Canadian North, so I'll be
filling it with DEET before it leaves the shop. I'm real
excited about this one, since I'm not just rehashing an old cab,
but doing it from the CAD design up. It's made for a
pretty tall guy, so it's got a bit more angle to the monitor
than I would find comfortable, but for him it sould be perfect!
Let's get started! |
|
| |
|
|
|
| |
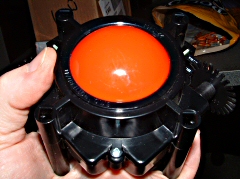
Parts going
into this one: I'm trying out the brand spankin new Minipac
interface from ultimarc. Also I'll be trying out the
Ultimarc trackball and T-sticks for the first time.
I'm anxious to get the T-sticks, even though they are more
expensive than the Happ sticks I normally use. Also on
this panel will be a genuine Wico 4 way (since microswitch
joysticks never do justice to the old classics) and of course an Oscar
VORTEX spinner. To top it off, visual pinball
buttons.
For the computer, it will
be similar to the killer system in the Zelda mame, complete with
20" monitor and Harmon Kardon or Yamaha Sub-sat system. |
 |
|
| |
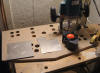
Here the control panel starts
to take shape. You can see the marked locations of the
controls. I moved the joystick positions up a bit to make
it more comfortable for the player, other than that it's going
to match up with the model. I really need to get a collar for
the router so I can do these holes quicker, but for now the hole
saw does the trick. I'll be putting a order in for the
buttons next week, then to start in on the paint-grade plywood
frame or the top panel. |
 |
|
| |
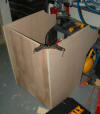
Okay, the panel is
drilled, I'm just fabricating a mounting plate for the
trackball. Now that my mind is back on track I can start
making some progress! I've routed out the joysticks (underside)
and the trackball, and mounted the spinner. I need to
order a few buttons tomorrow. |
 |
|
| |
|
|
|
| |
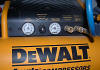
I've had a few e-mails asking
about cabinet finishes. Well this one is going to be a
good example. All the wood is new, so I have to make sure
a good durable finish goes on there. For the best finish,
you just can't beat a good spray gun. For those of you
with access to one, you'll know what I'm talking about.
Otherwise a nice low pile roller will suffice. Lay down a
good primer coat on your piece (don't ever skip the primer!!).
Sand the work and prime again. This is what will allow
your final coat to look good and not just absorb into the wood.
I set the compressor to 40-50psi and load up the gun. For
easy cleanup I use water based latex, but you could get the same
durability in less coats by using oil based or acrylic paint.
Oh and ALWAYS use a good filtration mask when spraying. Here is
the first coat of black on the control panel. I've already
sprayed two coats of primer. I didn't sand too much here
since it will all be covered by the underlay graphic, but
remember that the control panel will take most of the abuse of
things like spills, so make sure it's well sealed. |
 |
|
| |
|
|
|
| |
Controls in place, but not
attached. All that remains to do here is mount the
trackball plate, install new t-molding and do up some underlay
graphics. Looking good! |
 |
|
| |
|
|
|
| |
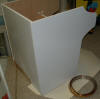
The side and back panels are
cut, and I've attached the pieces now with
biscuits and industrial strength glue. As
always I will complete the construction with metal brackets to
make the table bulletproof.
I'm really pleased with
the finish on the wood. It was worth the extra money to
get pre sanded sides. I'll give the whole cabinet a
coat of primer, and then a nice black textured finish to give it
that "from the factory" look. Now to finish the
control panel support and the top. |
 |
|
| |
I did a bit more work,
getting the pieces together. I'm going to do a template of
the top so that I can take it in to a local plastics company and
have them do up a nice thick topglass. |
 |
|
| |
Here I started in on the
primer. You can see the gold t-molding that arrived today.
Tomorrow I'll try and finish up the primer coat and cut the
groove in the edges and maybe even get on one coat of black. |
 |
|
| |
|
|
|
| |
Now we're getting
down to it. The cabinet has a coat of black textured
finish to it, the edge slots are cut and here is a preview of
how the t-molding will look. Now I was quite apprehensive
about ordering the gold, thinking it was going to be tacky, but
I was definitely wrong! This stuff looks great, and is
really heavy duty compared to the regular t-molding. It
even has a protective finish on it that I will peel off when I
deliver it. Now to get to work on the graphic underlay and
the plexiglass top. |
 |
|
| |
Now there's a money
shot! I finished up the plexiglass top today! In this
picture the glass overhangs the control panel cutout, but I
ended up doing it flush all the way around. I'm
off now to router the slot for the t-molding around the top and
maybe start planning the monitor shelf so that I can figure out
where the hole needs to be cut. I'll also fabricate some
custom glass clips using bulk steel and a bit of hammering on
the vise. |
 |
|
| |
I welded up a custom
bracket for hanging the monitor. I'll do up a reverse
bracket for the bottom and it should be very well secured.
Also this allows for the enclosure to be open, so that I can get
maximum airflow across it with a fan I plan to install on one
side of the cab. |
 |
|
| |
Well the support
worked well, but I -assumed- I had it bolted to the frame, but
it turns out the front half was only bolted through some
plastic, so when the full weight of the monitor hung from it,
the electronics and metal pulled away rather violently.
:sigh: Don't think I'll be fixing this 20" monitor with a bit of
glue. I did however, create some new swear words when this
happened, so it wasn't a total waste. Well off to the
monitor store! |
 |
|
| |
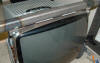
Okay, one new
monitor and we're back in business.
I tested out the control panel yesterday and it worked without
troubles. I also got the vent holes
on the cabinet drilled. I used the paper template and a punch to set the
pattern, then drilled out the holes. One side will have a
mounted fan. Two smaller templates will be used in the
front for the mounting of the speakers. It's going to be
tight in the enclosure and it'll be a challenge to get those
speakers in there without causing magnetic distortion on the
monitor, or excessive vibration on the motherboard. |

 |
|
| |
Due to the angle of
the monitor, I needed to fabricate a custom bezel for the
monitor. Here is the primed piece set in place. I'll
secure it and put on a flat black coat. The underlay
graphic will come flush with the bezel edges for the finished
look. |
 |
|
| |
 |
 |
|
| |
Above is the artwork for the
cab. Since it's going to be a jukebox and arcade
emulator, I did up two pictures. One I found on the net,
which had been put together in illustrator from mostly pictures
from my site (the irony!). The other was a picture from my
buddy Joff who had done up a killer jukebox project with his
class. I'll print them both up at kinko's with a good
laminate coating and get them mounted. While all of this
is going on I welded up four custom brackets. Two go
on the top and attach to clamps inside the cab to keep the top
securely in place. The other two are secured to the
underside of the control panel, and are flat steel welded to
round threaded stock. The threaded steel pokes through
recessed holes in the bottom of the panel, and are secured with
nuts to keep the panel on. Can you tell I love my welder? |
|
| |
|
|
| |
|
|
|
| |
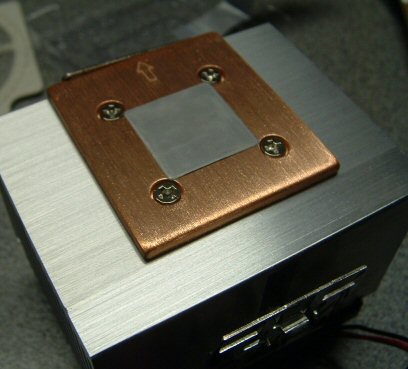
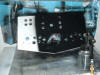
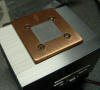
I'm pretty concerned
about heat in this beast, so I had the computer guy bring a
selection of heatsinks for the motherboard. We settled on
a massive sink with a copper/aluminum mix. I've always had
better luck with copper sinks over any other kind, but he swears
by the aluminum, so we found this good compromise. In the
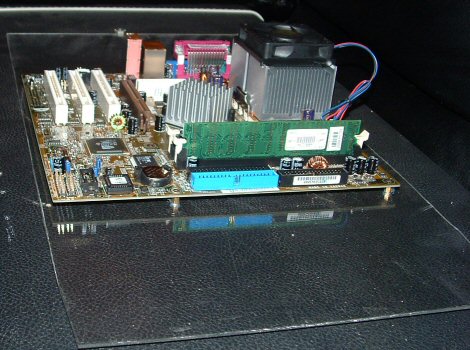
next pic you can see the custom plexiglass mount I made for the
board to keep lots of air movement on it (can't have it cooped
up in a computer case in there!) |
  |
|
| |
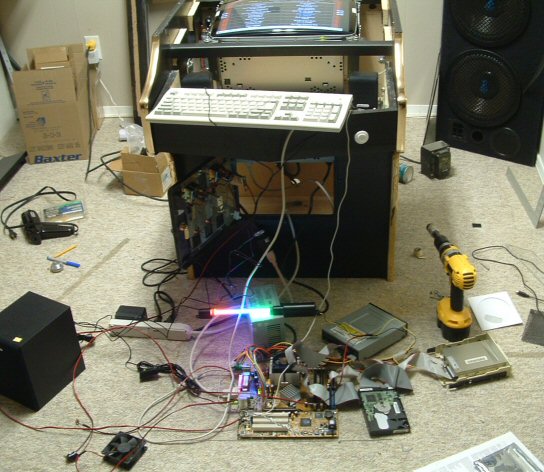
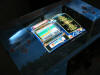
Now to cram all this
stuff inside the box. Simple, right? right????? |
 |
|
| |
I've started the 48
hour burn in period, I want to make sure this puppy will run for
2 days without locking up. The computer guys tell me they
already did a "burn in" test run, but I like to test firsthand
for myself. I'd rather run into problems here than when
it's hundreds of miles away! I also returned the Yamaha
speakers and got a Creative Labs set instead. A few fellow
cab builders said the sound was phenomenal on these speakers,
and more importantly, they come with a volume control on a wire!
I can mount that under the control panel and he doesn't need to
crack it open to turn down the volume. It's still going to
be tight in there with the sub. I can honestly say, the Creative
system rocks! The monitor here has a forward tilt to it.
You might think it's not enough until you see the height on the
new owner, I think he's a retired basketball player or
something. :) |
|
| |
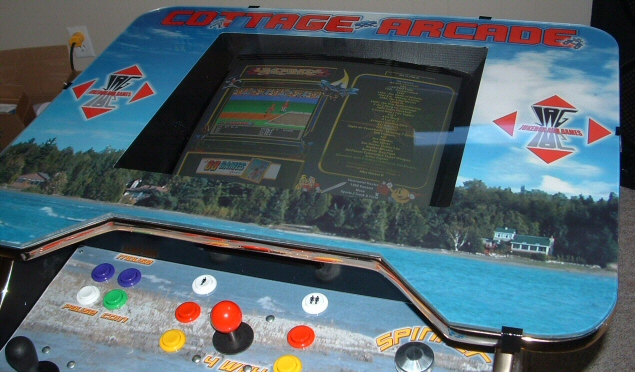
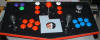
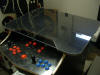
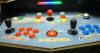
Here is a snap of
the panel graphic and the sideart in place. Notice also
the pinball flipper and 'tilt' buttons. Lookin
good! |
 |
|
| |
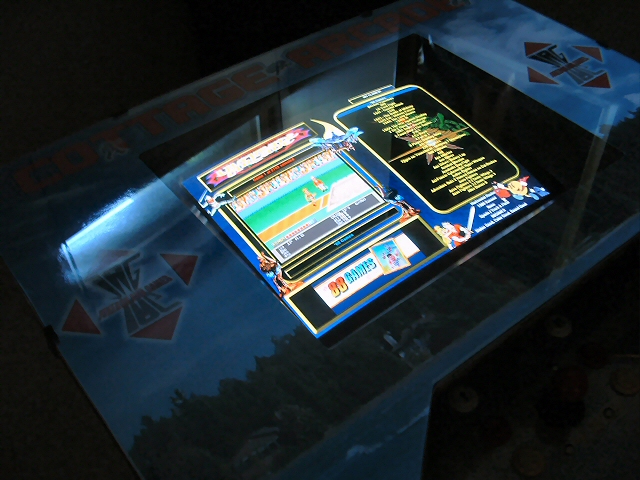
Menu screen ready to go! |
 |
|
| |
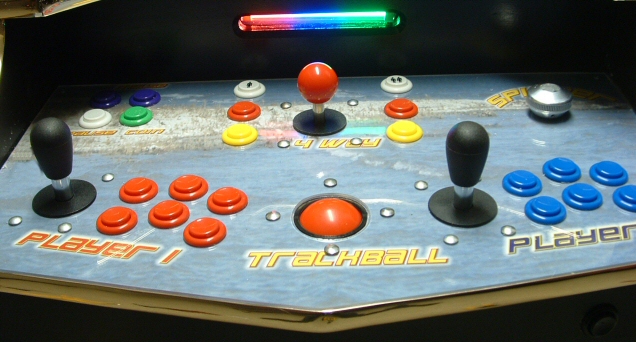
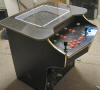
A nice shot of the
completed control panel. |
 |
|
| |
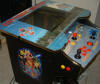
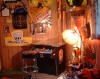
Turn the lights down and
let's see what this puppy can do. Off to play a few games
and maybe a bit of pinball before I get it ready for delivery! |
 |
|
| |
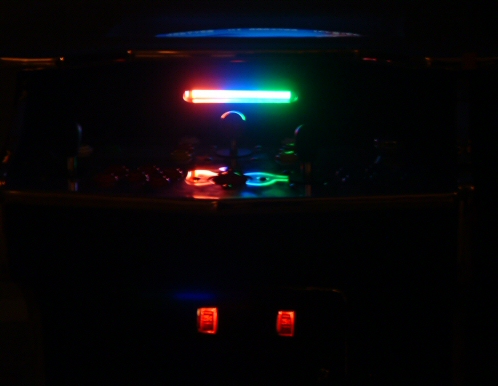
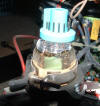
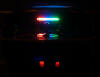
A dark room shot
with the sound activated light tube and the coin windows.
Bling. |
 |
|
| |
Here is a nice pic of lake
Huron where this cabinet has taken up residence. I wasn't
joking about it being at a cottage! |
 |
|
| |
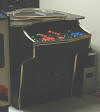
There she be. There's
got to be something said for a game of Galaga nestled into the
peaceful setting of Canadian cottage country. This
place is the ultimate dedication to arrested development.
Game on! |
 |
|
| |
BACK
|
|