|
Okay, here we go again.
Not an arcade conversion this time, but another shot at the
jukebox theme. This project has a lot of potential and
appeal for me, since I have been toying with the idea of doing
something similar for quite a while. So let's inject some
21st century into this 70's beastie! |
|
|
 
 |
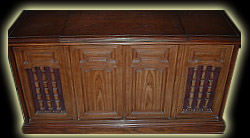
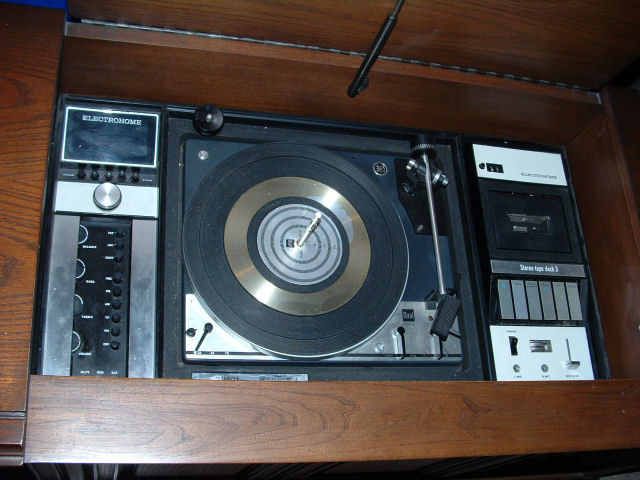
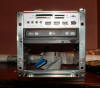
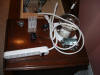
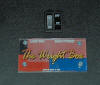
Well how many of you remember
these things? They were all the rave at one time, and they
were quite common. This one has had the 8-track to
cassette conversion done (some of you kids can go look up
"8-track and cassette" on google). Still, for it's age it
is in really good shape. Now we'll take the conversion to
the next level. |
|
|
|
|
 |
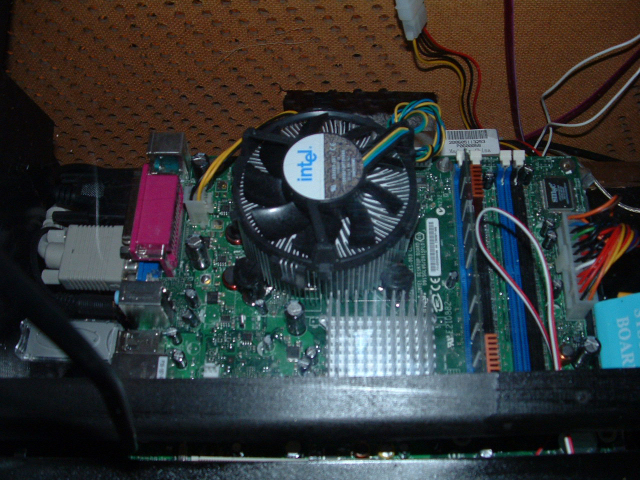
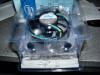
Computer selection was up in
the air for a while, but due to heat concerns, I settled on an
Intel P4. Plenty quick, and check out that monster heat
sink! This will run the juke with lots of horsepower to
spare. |
|
|
|
|
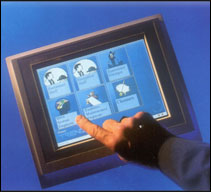 |
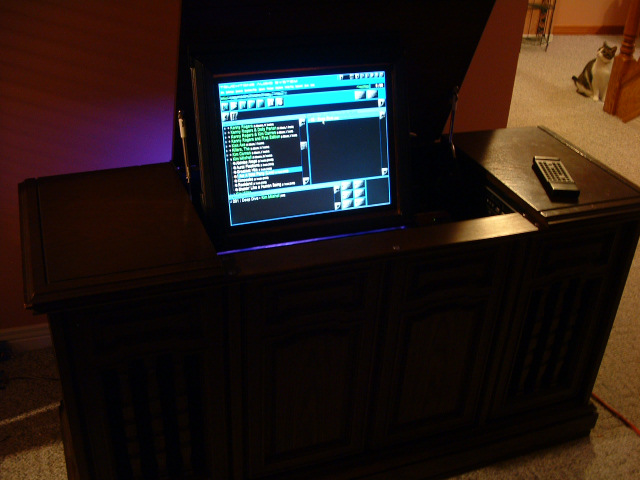
Another nice little detail on this cabinet
will be the touch-screen. I think I'll have a bit of
trouble finding a good one that doesn't break the budget, but
I'm sure there's one out there. Now this is something I've
never tried before, but I think it is definitely worth it in
'coolness' factor. Plus it saves me wiring up a hundred
jukebox buttons to the cabinet. |
|
|
|
|
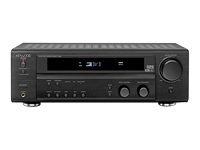 |
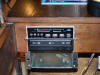
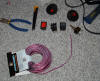
Now power for this rig will likely be a full
range Kenwood amp. I picked one up a couple of weeks ago
to be installed in my pool house in the spring, but I think it
will work better in this project. The new owner wants to
be able to listen to local radio channels, and I want the system
to have tons of power when it needs it. |
| |
|
|

 |
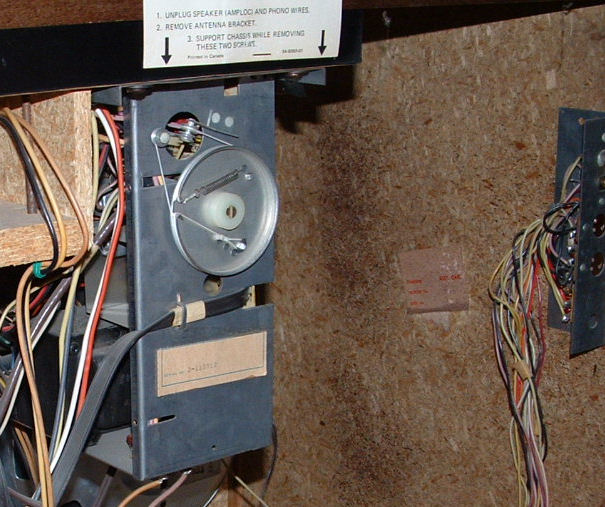
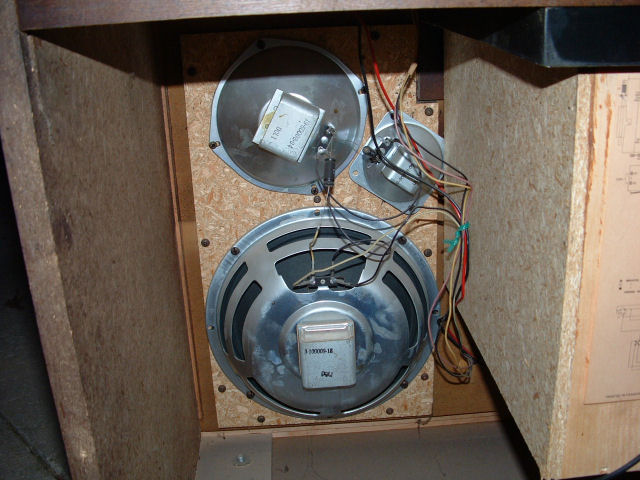
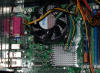
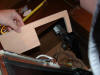
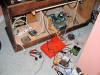
Not much of an update, but I
yanked the innards out of the machine today. I had to
battle with a few long-time residents, but in the end I was
victorious.Here's a photo of the carnage. |
| |
|
|
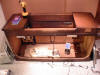 |
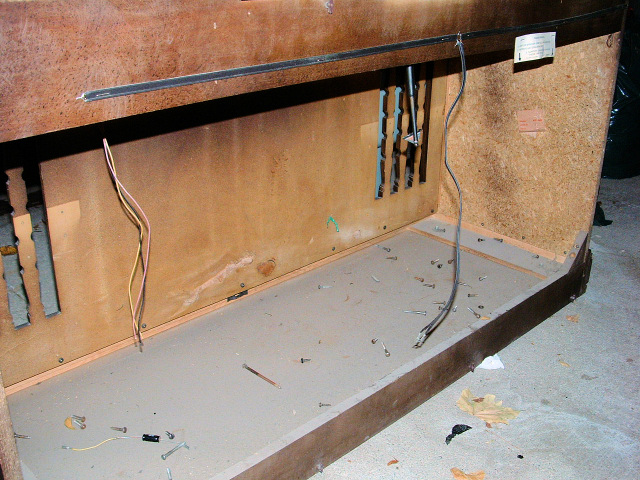
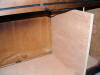
Okay Now it looks like
something is going on. Really stripped down, and ready to
convert. Strangest thing I have found so far: The
whole cabinet is plywood and some kind of wood putty! I
figured something this old would have more real wood. Ah
but it was the 70's and plywood was probably 'new tech'! |
| |
|
|

 |
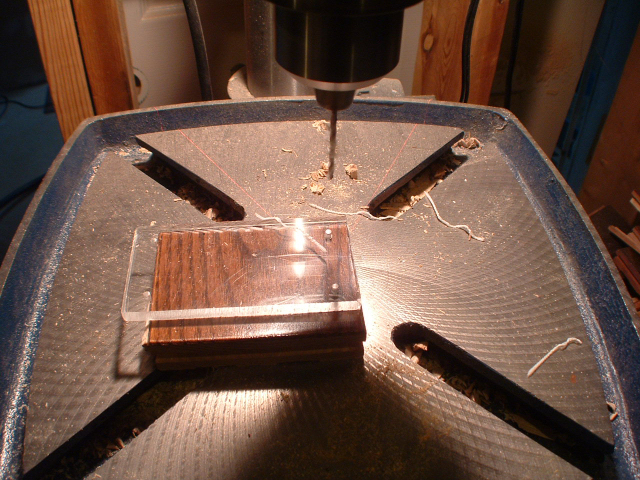
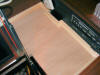
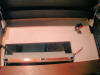
Working on the mount for the
dvd drive and the USB card reader. I got the idea from
another person's project, and it looked great. I've cut
the frame of the new computer case (seen here) and am going to cut a
mounting hole under the lid. |
| |
|
|
 |
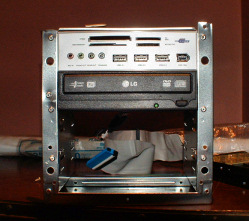
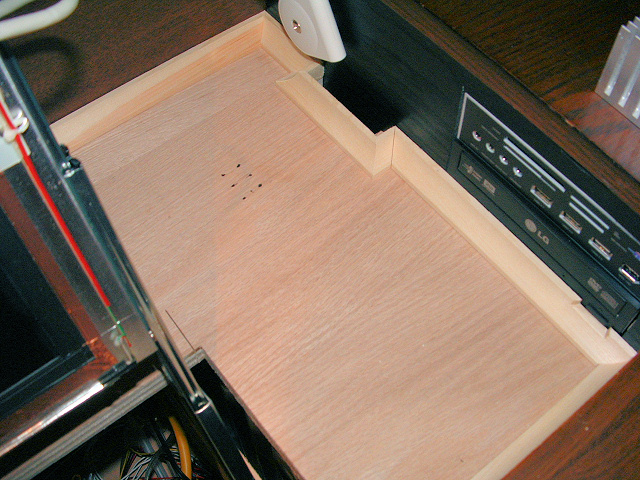
The first step towards a new
machine. The card reader/USB is mounted above the dvd burner,
which means it will be fairly easy to add new software or
songs to this machine. This will be important since I
don't think the new owner is going to share my love of 80's
metal. I'll have to do some kind of cover plate to make it
all nice and spiffy, but you get the rough idea. Hopefully
the monitor will arrive tomorrow so I can get an idea of how
everything is going to fit. |
|
|
|
|
 |
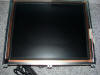
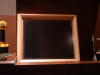
The screen is here
(finally!). Many thanks to Knievel for hooking me up with
this nice 17". As you can see, it doesn't have a
frame, but I think that is going to work out perfectly, as I
wanted a frame that will aesthetically mesh with either the
exterior of the cabinet (or the control compartment), plus it's
perfect for allowing me to construct a metal frame. Guess
I need to get the tape measure and the welder out. Oh, and
a trip to the steel shop! |
| |
|
|

 |
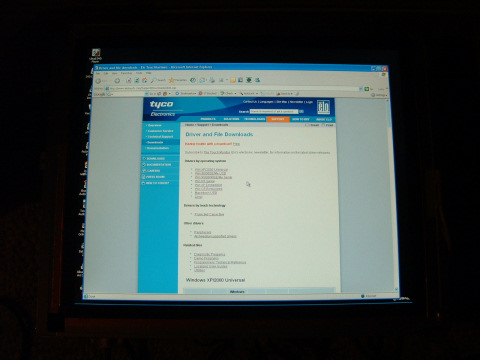
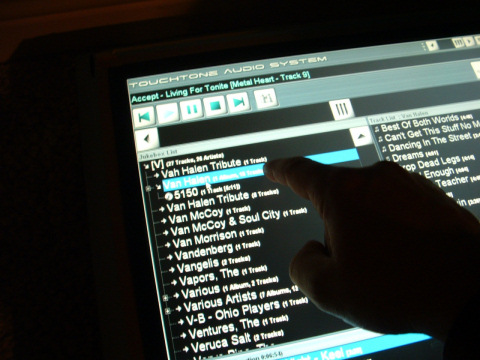
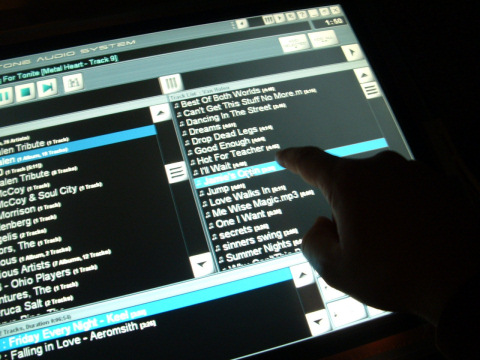
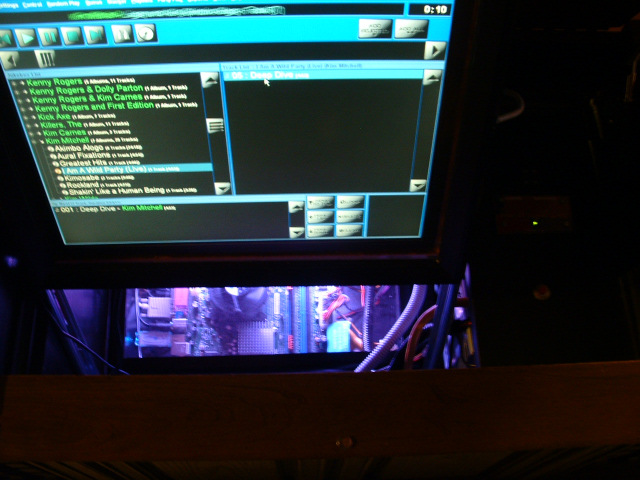
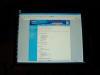
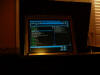
Well here is the exact point
when things start to get fun and cool. I was put onto
Touchtone jukebox, and I think this will be the software I will
stick with, although I plan to try out SKJukebox since I hear so
many good things about it! I think the attraction to this
one is that it set itself up almost automatically and I was up
in running. Gotta love ease-of-use! |
| |
|
|
 |
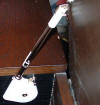
A trip to a specialty
hardware store scored me this fluid filled hinge apparatus and
bearing slides. The fluid in the hinge does not allow it
to slam shut, it is a nice resistance. I bought two of
these and plan to include a replacement with the unit in case it
ever wears out. |
| |
|
|
 |
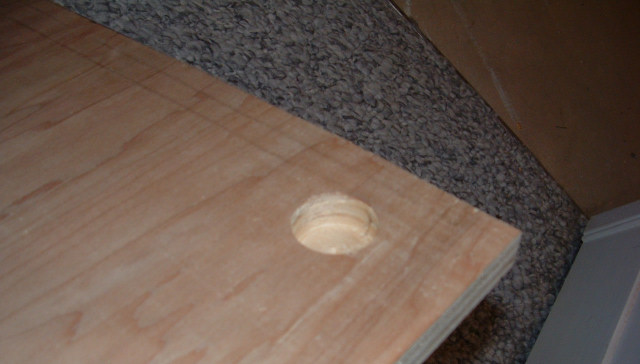
The cabinet was constructed
with a lot of that pressed fiber/cardboard material. It's not
strong enough to mount anything to, so I'm building an inner
frame out of some plywood I picked up. I didn't know if it
would be visible when everything is done, so I got some of the
good stuff, and I can stain it to match the rest of the cabinet
if needed. The circular hole is so the adjustable feet can
still function. |
| |
|
|
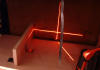
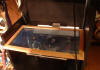
The plan for this, after a
lot of throwing ideas around, is to link the screen to the top
lid, and to have it rise out of the cabinet when you open it up,
and slide back down when it closes. That was the reason
for the fluid hinge, so it always eases itself back down into
the cabinet. Funny thing is, for such a large cabinet, I'm
running out of room for everything really quickly. |
| |
|
|
PART II |
| |
|
|
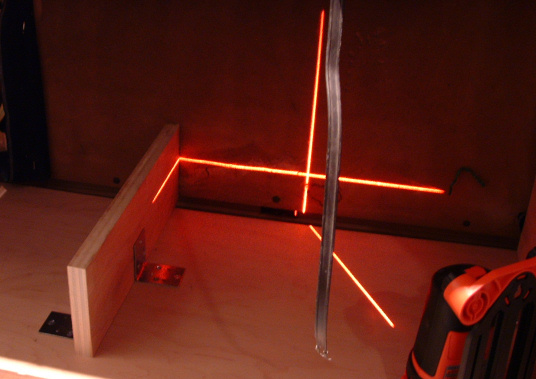
Back from a nice Vacation in
Mexico, I went right back to work on the juke. Here I use a
laser to align the bottom of the monitor rails. If they
are not perfectly set, the monitor will not slide smoothly.
|
 |
| |
|
| The monitor is mounted, but
is a lot heavier than I anticipated, so it will need that other
hinge to keep it in place. So the dvd has to move to the
front of the cabinet. I had already cut the side panel for
the rear mount, so a new piece had to be cut to give me
something to attach the drive to. |
 |
| |
|
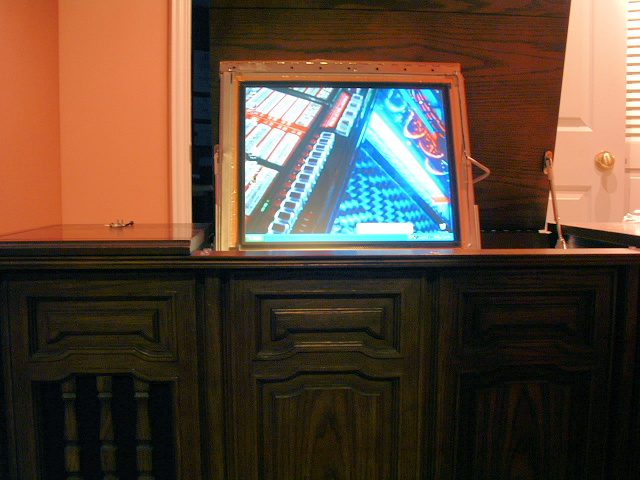
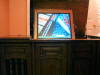
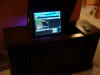
| The monitor rises up with the
top lid as hoped. It's heavy, but pretty cool. This
was going to be one of the most difficult parts of this project,
and now that it's out of the way, I can mount the computer
board, the stereo, and start all of the various finishing
touches I'm going to need to hide things like screws and hinges. |
 |
| |
|
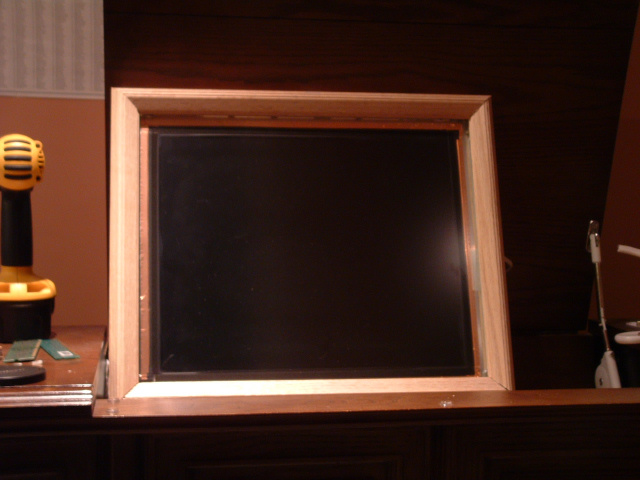
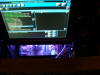
| It's looking pretty good with
the lights out. |
 |
| |
|
| Okay, Christmas is over, and
I'm back at it. Pretty close to being done now. |
|
| |
|
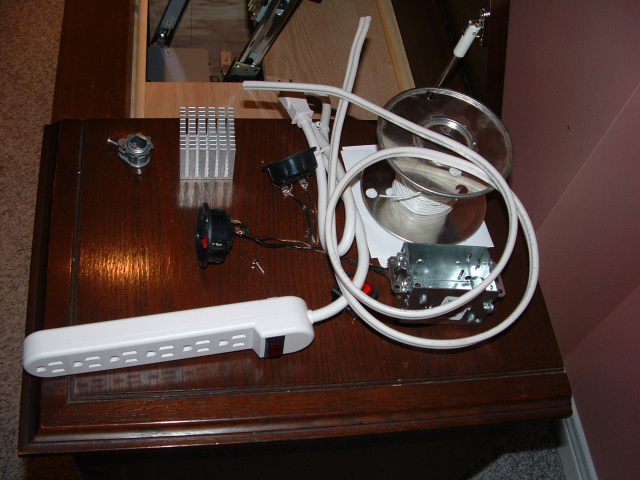
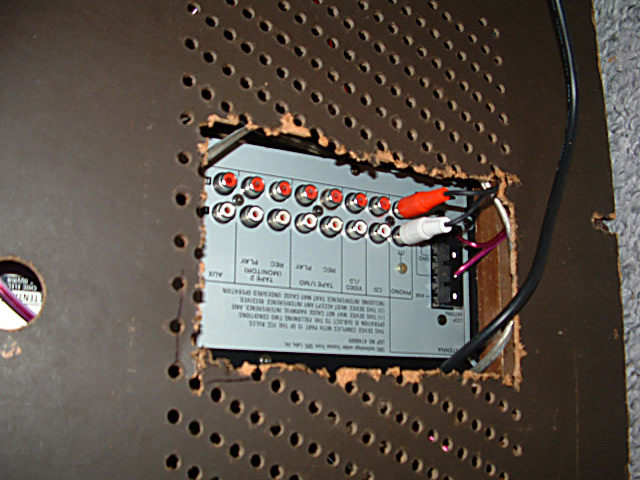
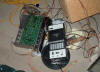
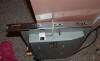
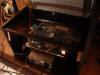
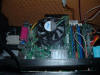
| Now here are the parts for
the electrical connections. You should be able to see
the power bar, the illuminated power switch, the external
speaker hookups, and some of the equipment I am using to test
the safety of the power hack. It might look roomy in the back
compartment here, but it fills instantly with the top down and
the stereo in place!! |
 |
| |
|
| Trim is finally being
installed. I'm toying with either staining it the colour of the
cabinet, or going with black. I think I'll stick with
black since I want it to be less noticeable. All the parts
will blend in and look pro when I'm done. |
 |
| |
|
| Working on the wireless
network, it seems to be working right out of the box, but we'll
see if I can actually make it connect. |
|
| |
|
| Finally
getting some primer on the various parts. |
 |
| |
|
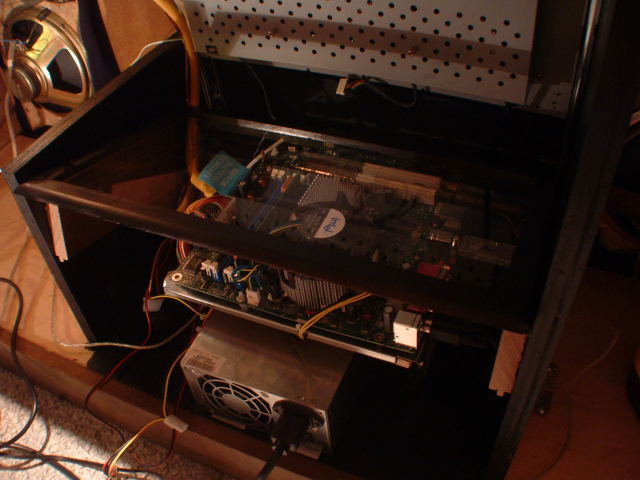
| One of my big
concerns is the heat in the CPU chamber. I don't want to
seal that area, because I want heat to be able to flow up and
out. However, I also don't want it to be too easy to drop
items onto the motherboard, as they are fragile, and don't like
conductive materials. SO I made a removable plexi panel to
fit over the board. I used velcro to attach the window to
the frame, and so far the wiring and the monitor all fit
together with the lid down (another concern since I never did
model this out beforehand. To the right is the nearly complete
"chamber". |
 |
| |
|
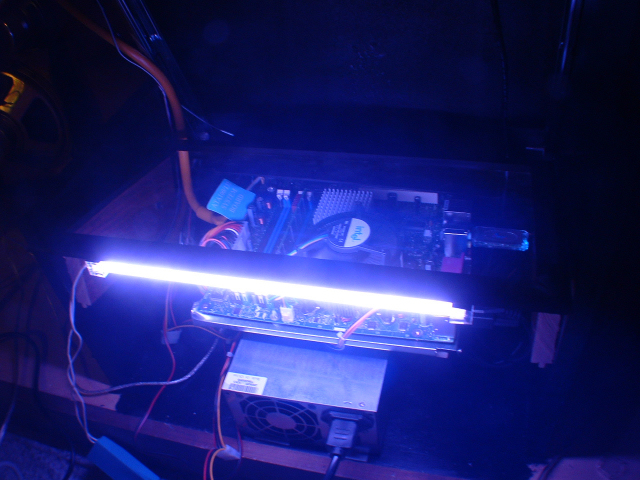
| Also on that
cover window is a replaceable cathode light. I'll mount a
switch on the back panel so that it can be off, but it will come
on with the system otherwise. To the right is the
view down into the machine. Starting to look good! |
 |
| |
|
| You can kind
of see how I've started to snake some of the wires through the
cabinet. A few more anchors and tie-downs and it should be
pretty safe and secure. Now to secure the stereo. |
 |
| |
|
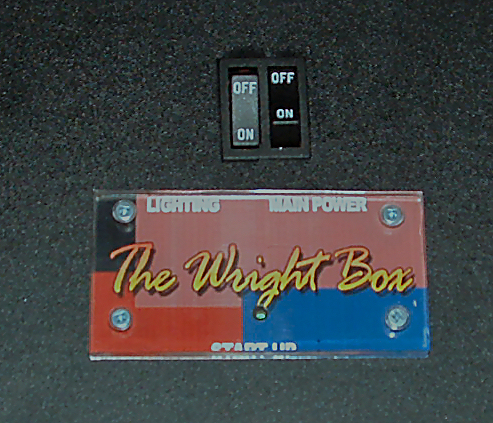
| I pulled the
illuminated rocker switch, in favor of a dual switch, so that
the internal lights can be turned on from the main panel.
Here are the switches I had to pick from. The hard drive
activity light has been mounted into the machine, and the system
power LED is mounted into the control panel. |
 |
| |
|
| I'm making a
small label card for the panel, so you can tell which switch
does what. I think I'll try to mount it over the power LED
so that it lights up. Should look cool! |

 |
| |
|
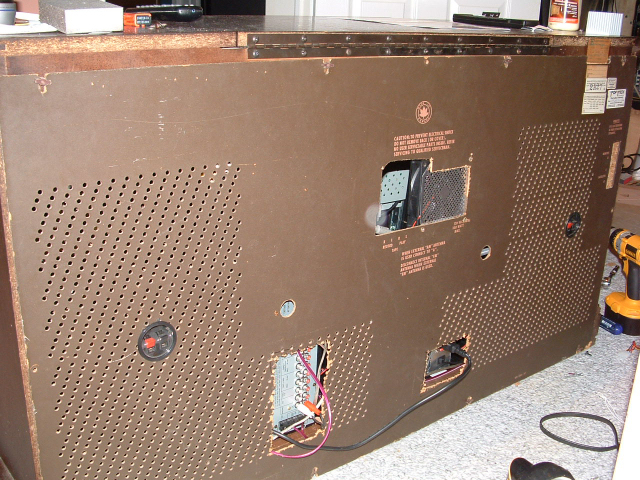
| The system is
functioning, so I am really getting close to the end. I
simply need an easy way for the new owner to rip CD's and add
music. The back panel is in place, and you can see the new
external speaker jacks and the center cutouts for ventilation.
I had to make do with holes that were already there in the
center. It's not pretty, but it won't be seen. |

 |
| |
|
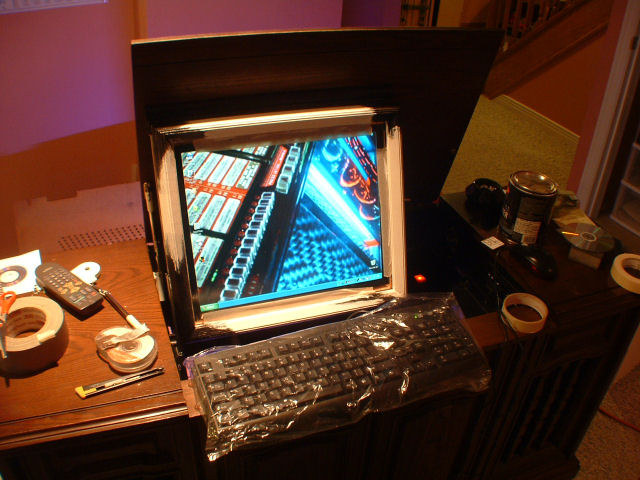
| The topside
USB slots make it real easy to plug in a keyboard and mouse,
even though the touchscreen acts like a pretty good mouse.
Here is the keyboard in action, and the hole I cut in the panel
so that external inputs can be used. Might as well be able
to take full advantage of the stereo! |

 |
| |
|
| Here's a
beauty shot before it goes off to the new owner's house.
Everything came together well! No issues that I can think
of, it works well! |
 |
| |
|
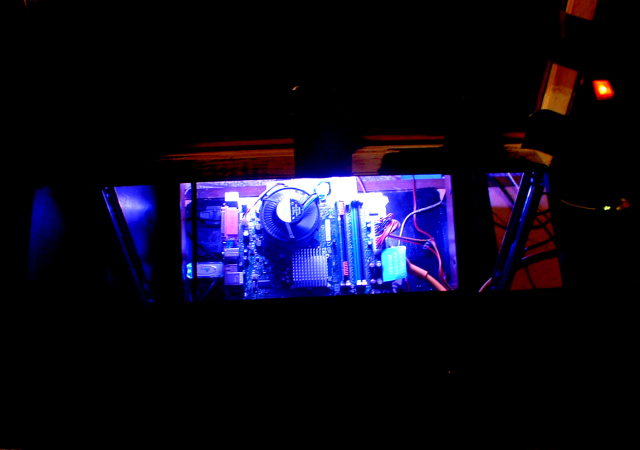
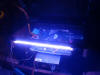
| Here is a
view looking down into the unit. Lookit that crazy glow.
The plexi protects the motherboard from dropped stuff, and the
open top lets heat out! |
 |
| |
|
| |
|
| |
|
|
|